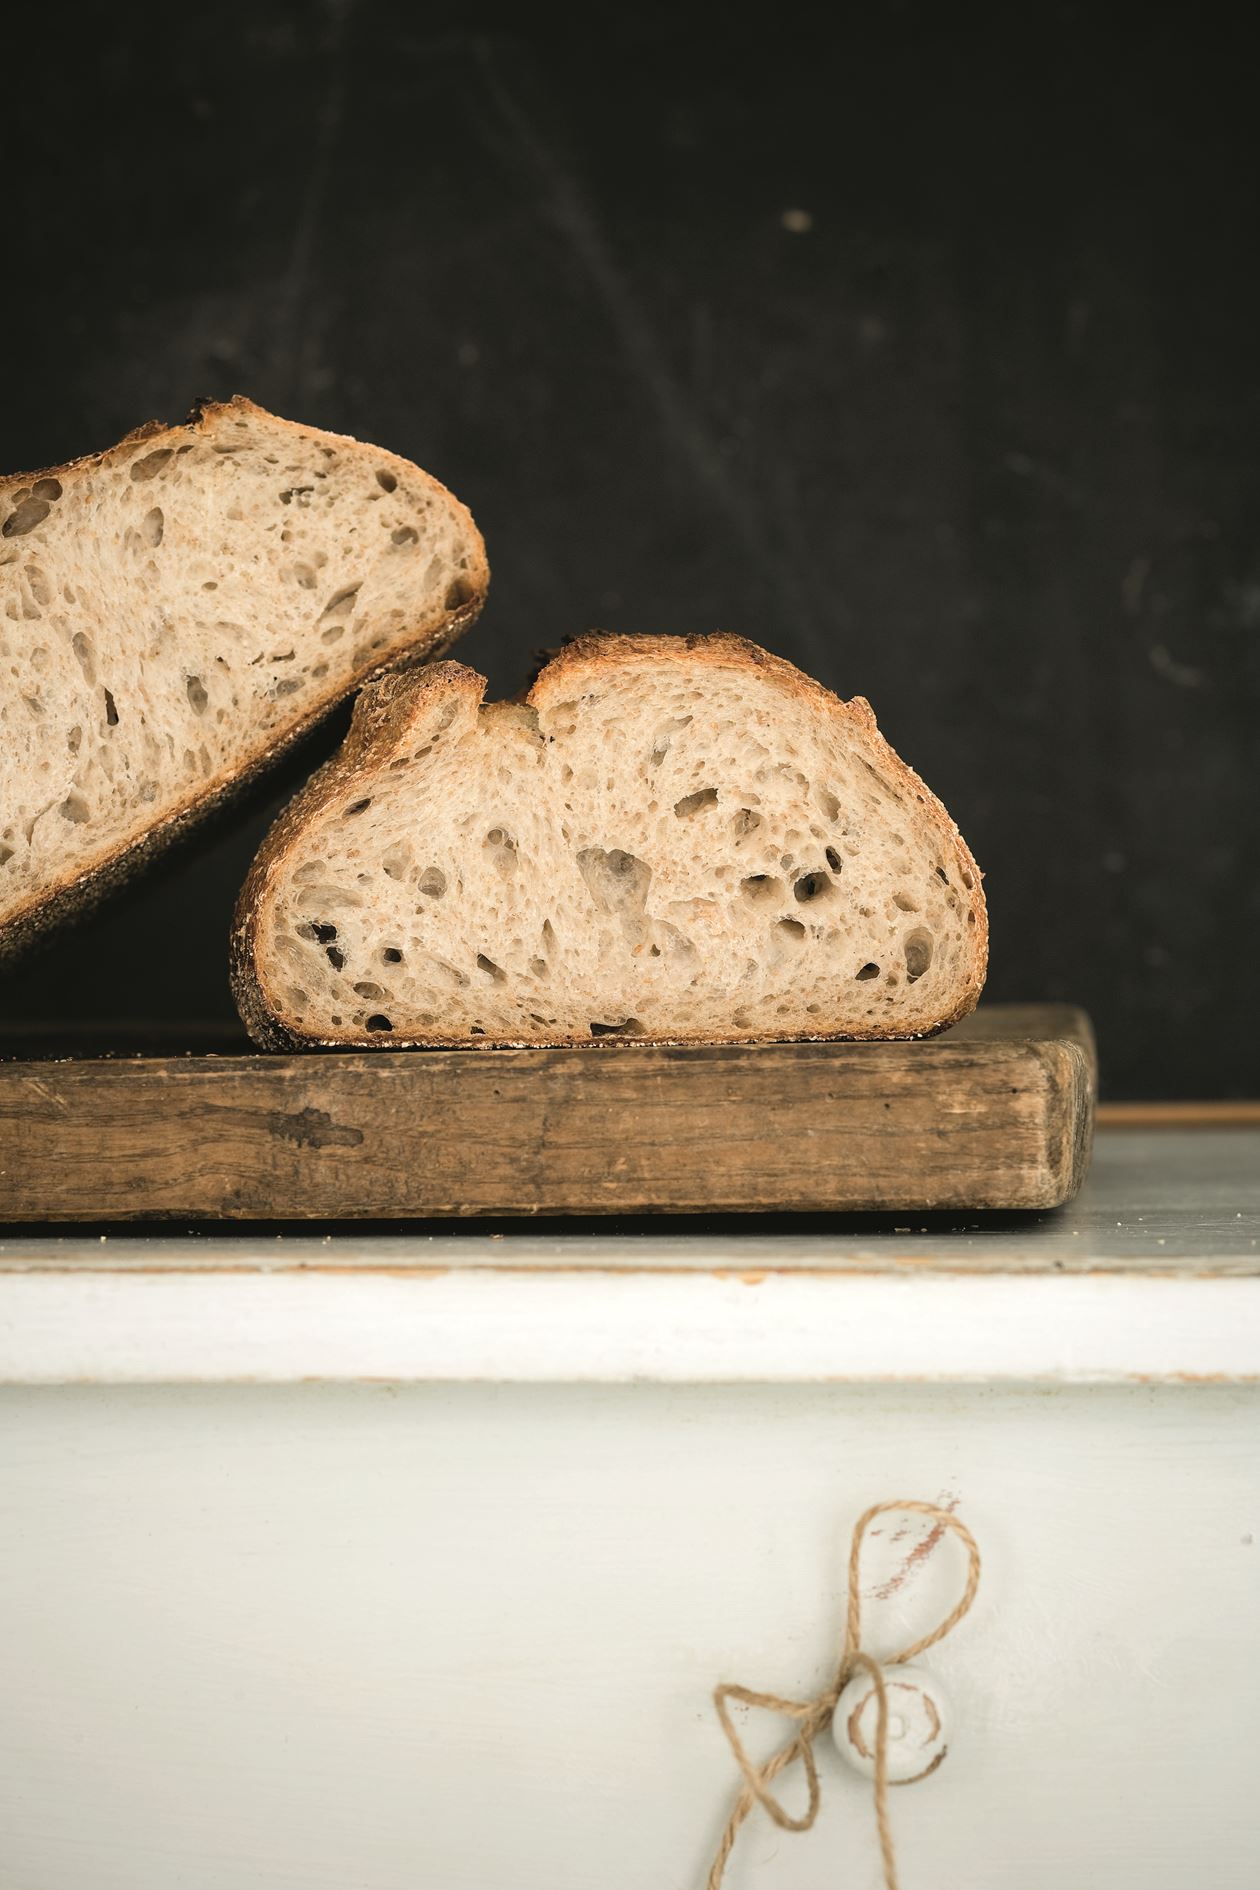
Sådan gør du
The pre-fermentation method is actually simple. I take ⅓ of the dough I’ve just made to use in a fresh batch of dough. I’ll knead this dough as the first batch is in the oven. In other words, I end up with freshly baked bread as well as dough ready for baking the following day. You can easily freestyle a little in terms of overall amounts of flour and you can add a little more whole-grain flour if that’s to your liking. Occasionally, you get the feeling that your dough is losing its rising power, and then you simply add a little baking yeast to kick the dough back into action.
Pre-fermentation
Pour water into a bowl and dissolve yeast. Then add the remaining ingredients and mix well. Leave this dough (covered) on the kitchen table to ferment for 2-3 days.
Dough
Put the pre-fermented dough into a large mixing bowl. Add water, salt and the whole-grain flour as well as half of the regular wheat flour. Beat the dough with a wooden ladle.
Then mix thoroughly, while airing it by lifting and stretching it with your ladle. Imagine that you’re beating air into it in much the same way you whisk full cream by hand – this will make the dough tougher. Add as much of the wheat flour as the dough will hold. It should take approx. 5-6 minutes, but if you have the muscle to carry on for another 5-10 minutes, by all means do. The tougher your gluten structure, the easier your dough will rise. You can also knead your dough at intervals – 3 x 3-4 minutes with a 5-minute break in between, this will allow the flour to absorb the liquid and you won’t have to work as hard.
Cover the dough with a damp tea towel or some plastic wrap and let it rise overnight in the fridge, or outside if it’s cold enough (though never in frosty weather). Once the dough has risen by approx. ⅔ of its original size, it’s ready for the oven.
Shaping your bread
1. Place a baking stone in the oven and heat until it reaches 270° C. Carefully, tip the dough onto the flour sprinkled kitchen table, without knocking the air out of it, and chop off the dough when there’s approx. one third left in the bowl and place this bit to the side. Use a baking spatula to fold the dough over once. Make sure no flour gets in between the layers.
2. Sprinkle a little flour on top of your dough. Use a spatula to taut the dough by pushing the sides underneath the dough.
3. Use a spatula to chop the dough into two halves, if you wish to make two loaves. Lift the dough onto a baking sheet covered in baking paper by using your spatula and your other – flour-brushed - hand.
Baking your bread
Now you’re ready to bake your bread – no extra rising time is needed as the dough is light enough as it is. Carefully lift your dough onto a piece of baking paper, using your spatula(s). Then gently slide the baking paper with the dough onto the hot baking sheet or stone already in the oven –you can use a baking spade or a piece of cardboard, e.g. the lid on a pizza box. Once you get the hang of it, you can lose the baking paper, but it’s easier to start this way compared to only using a baking spade brushed with flour.
Bake your bread for approx. five minutes at the oven’s highest temperature (250° C-275° C). Then lower the temperature to approx. 230°. We say approximately, because ovens are different and they bake differently, which is why the actual temperature in your oven may be significantly different from our oven – and this influences the time it takes to bake a loaf of bread. So, baking temperatures and baking times are approximations – utilize your senses (possibly aided by relevant equipment) to assess when your bread is done.
If the loaf sounds hollow when you tap it and its color is nicely dark brown, your bread is usually done. If you’re not entirely sure, we recommend that you use a thermometer to measure the bread’s core temperature the first couple of times. Stick the thermometer’s awl right into center of your bread, where the temperature should be 99°-100° C.
When in doubt, it’s better to bake your bread a little longer, only make sure you don’t scorch the crust. Move the baking stone/sheet up or down a notch, depending on which position darkens the bread more. You can also turn down the heat or cover the bread with aluminum foil, or simply place a baking sheet between the bread and the oven’s top or bottom.
When done, take the bread out of the oven and place it on a roasting rack, to ensure air circulation, and leave it there to cool. Don’t slice the bread the moment it’s out of the oven, wait until it’s cooled down, or you may well press down on it and ruin the texture. So be patient, even though it’s often hard…
Pre-fermentation for the next batch
You’ll now prepare the dough you put aside, and you should preferably bake this bread within 24 hours (if you known that that’s not possible, then keep the dough in the fridge, in the coldest spot as this will slow down the process by up to 2 days).
Add remaining ingredients as described above and follow the same procedure. This way, you have a fresh batch of dough ready for the oven the following day.
Ingredienser
1 loaf of bread and pre-fermentation for your next batch
Pre-fermentation
2 dl water
5 g baking yeast
125 g wheat flour
125 g rye flour
1 honey
Dough
1 portion of pre-fermentation
6 dl cold water
150 g stone-milled whole-grain wheat flour
600 g wheat flour
20 g salt
